The next screen you will see is a database access form. There you should enter the parameters required to access the databases on your server. Usually, you receive this information from your hosting provider or from phpMyAdmin. The fields are standard, so you should not have any problems filling them in. The table prefix parameter not only distinguishes the WebLM tables from other tables in the database, but also allows you to run multiple WebLM instances within the same database.
In case of multiple WebLM instances, you should choose this parameter carefully, otherwise you may overwrite tables from another instance. However, this does not matter if you are installing only a single WebLM instance.
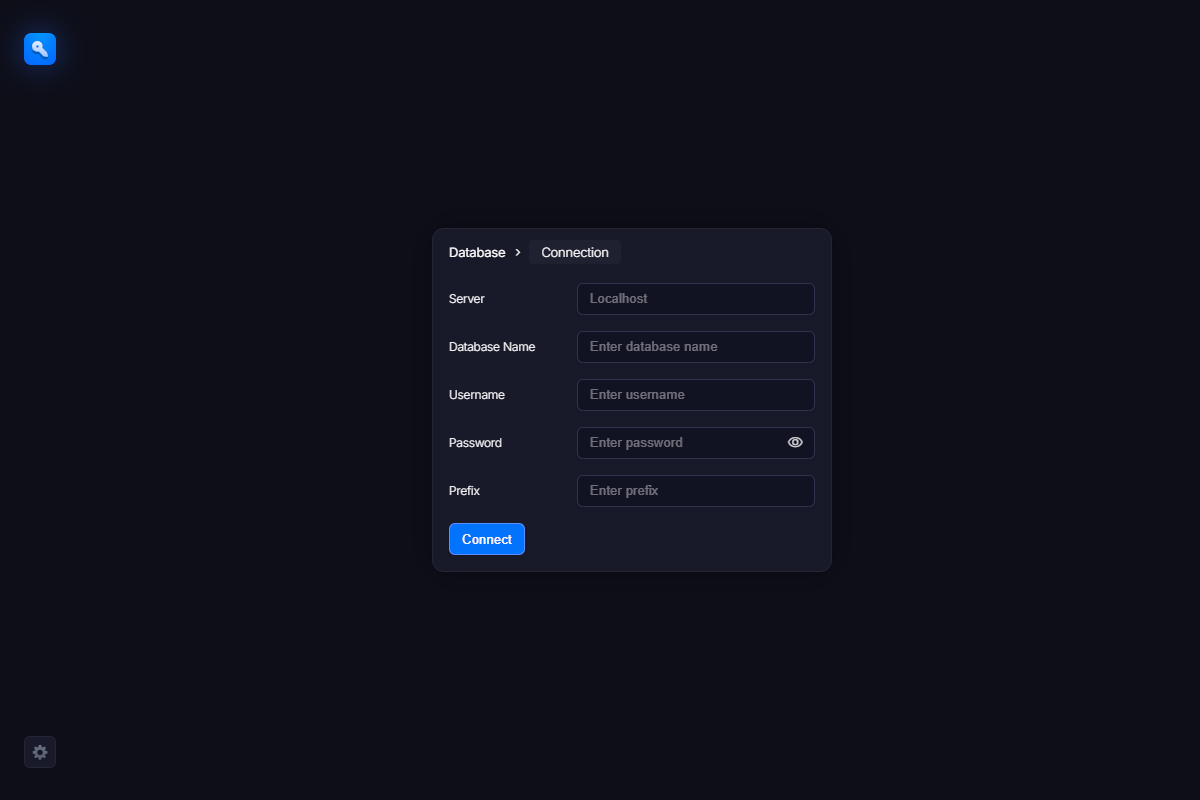
After filling in the form, click the “Connect” button. If all fields are correct, the “Connect” button will change to “Install Data Tables”, indicating a successful connection to the database. Otherwise, an error message will be displayed. Fix the issue described in the message and try again.
When ready, click the “Install Data Tables” button to allow WebLM to create all required tables.
