Step 4: Completing Installation

If everything goes OK, you should see the “That’s all” screen, which means that you have successfully installed WebLM without writing a single line of PHP code or something like this. That’s really cool.

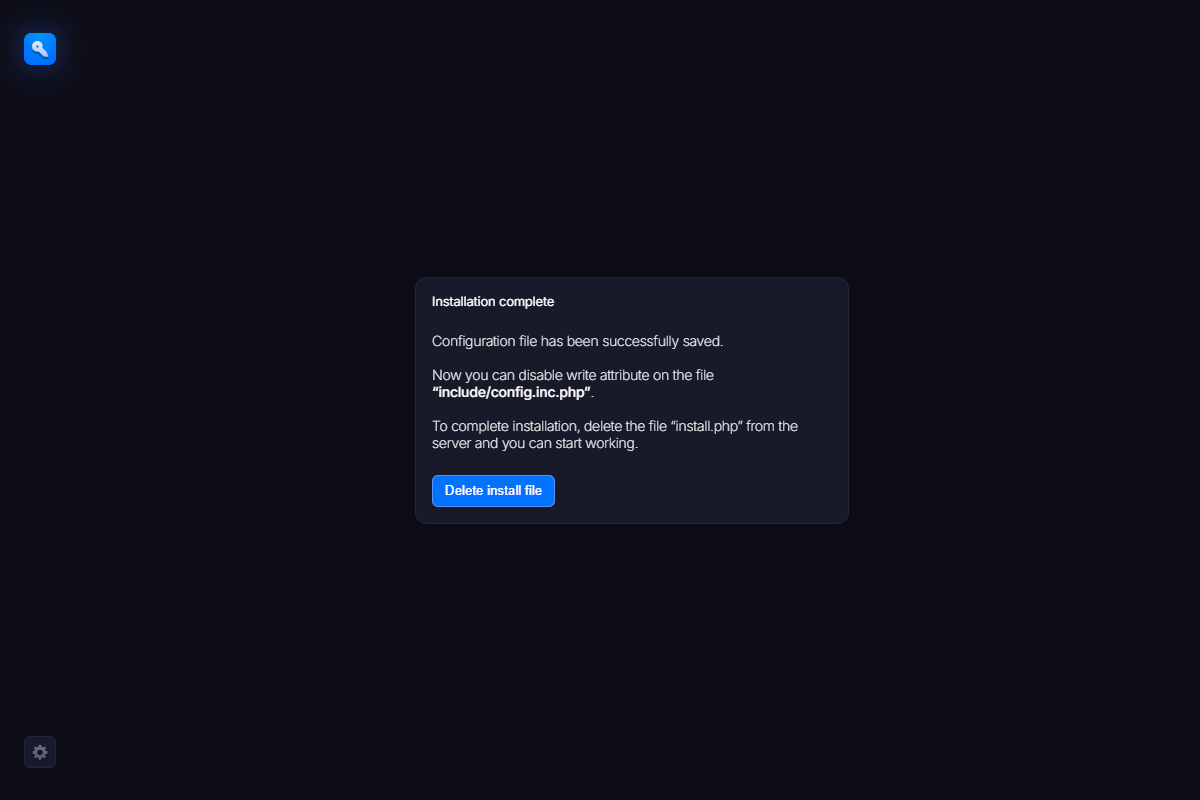
Now go to the installation folder and remove the install.php file as suggested on the screen above. We also recommend removing the write permission from the configuration file. This is required due to security reasons. You don’t want others to re-install your system or take access to it by rewriting configuration parameters. So in order to prevent possible losses, take care of the security now.

 Usually, you can modify file’s permissions in the control panel of your hosting provider.

Step 3: Creating an Administrator

Now you need to specify a user with Administrator privileges who is allowed to access to the WebLM system. Fill the main user form. Put your name, e-mail and password as you usually do on other sites. Then click the “Create” button. You can change all parameters later, if necessary.

Step 2: Database Access

The next screen you’ll see is a database access form. There you should enter parameters to access databases on your server. Usually you get this from your hoster or from phpMyAdmin software. The fields are standard, so you shouldn’t have any problems with filling them. Not only does the table prefix parameter distinguish the WebLM tables from other tables in the database, but it also allows you to have several WebLM instances in the same database.

In case of multiple WebLM instances, you should choose this parameter carefully or you may override the other instance’s tables. However, this doesn’t matter if you install just a single WebLM instance.

After filling the form, click the “Connect” button. If all fields are OK, the “Connect” button changes to “Install Data Tables” indicating the successful connection to the database. Otherwise an error message is shown. Fix the issue it displays and try again.

When done, click the “Install Data Tables” button to allow WebLM create all tables it needs.

Step 1: Uploading

You can upload WebLM via FTP or a file manager in the control panel of your web hosting provider. Create a folder where the Web License Manager will be installed. Upload the unpacked WebLM archive there and then type http://<yourserver>/<directory>/install.php in your browser.

For example, if you install WebLM to the weblm folder at www.mysite.com, the URL should be: http://www.mysite.com/weblm/install.php

You should see the installation screen like this:

If something goes wrong, you’ll see the error message. This means that some of the required software is not found on your server. Please contact us in that case, we’ll try to help.

If everything is OK, you just need to click the “Continue” button to begin the installation.